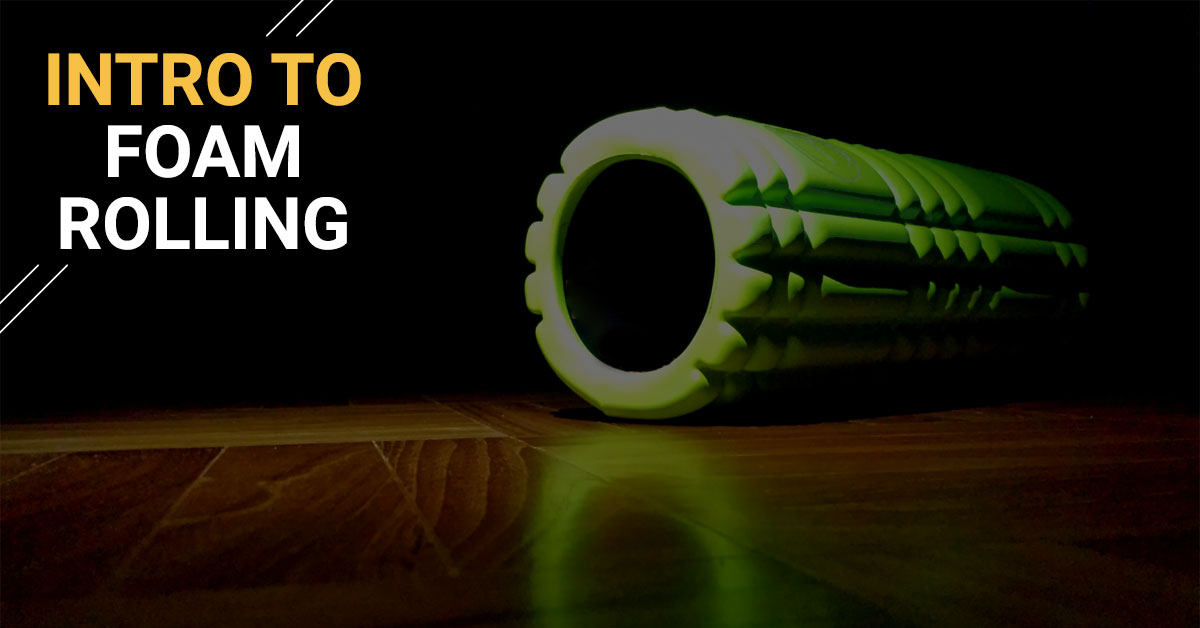
Foam rolling is well-known in the running world, and for good reasons. Essentially it’s like having a personal massage therapist at home, that can benefit your running in so many ways. Training and hard workouts can cause little tears in your muscles that then rebuild to make muscles stronger. Sometimes these adhesions bunch together forming knots that can limit the movement of the muscle, thereby putting it at risk of injury. Foam rolling can help to break down these knots and return your muscle to full function. Rolling isn’t limited to the rehabilitation of injured muscles; it can be a beneficial tool in every aspect of training:
- Boost your workout. Maintaining fluid muscles contractions can enhance their mobility, range of motion, and improve posture while sitting, standing and moving around. Improving general muscle function will translate into better workouts by having the muscles function at their full potential. Foam rolling as part of warmup will helps to prime the muscles for the workout by increasing blood flow to the muscle and reducing muscle tightness that could negatively affect running form.
- Reduce muscle soreness. We’ve all be victims of delayed onset muscles soreness (DOMS) which is the pain and stiffness in muscle that occurs from lactic acid buildup after hard workouts or an activity your body isn’t accustomed to. Incorporating foam rolling into your cooldown can help to increase blood flow to the muscle, flushes out leftover lactic acid, primes the muscles for light stretching and helps your muscles repair.
- Prevent injuries. A lot of running injuries can come from having tight muscles that pull on joints and cause imbalances. Rolling before a workout can help to remind the muscle to relax and reduce any compensation from excessively tight muscles. Plus it’ll ensure that all the proper muscles are being used throughout the activity.
When using a foam roller, these are some general tips to keep in mind:
- Roll back and forth over the targeted area for 30-60 secs.
- If there is an exceptionally tight spot (aka a trigger point), work on the knot/adhesion then move onto a different area. Return to the original tight spot to work on the muscle once it’s had a chance to relax.
- Refrain from rolling over bony areas such as your knee caps.
- If you have an injury, be cautious rolling over the affected area. Too much direct pressure could worsen the issue. Instead roll the areas around the injury to help loosen the surrounding muscles.
- “Hurts so good” sensations are acceptable, but any pain that causes you to wince is best to avoid.
Here are the top 5 areas for runners to roll and how to do it:
- Quads:
- With both quads on top of the rollers, support your weight with your hands on the floor.
- Utilizing your arms for leverage, move the roller up and down the entire length of the quads being careful to avoid the kneecaps.
- Calves:
- Place both calves on top of the rollers and place your arms behind you to support you in a seated position.
- Move your hips back and forth to move the roller along the length of your calves.
- Hamstrings:
- Either place both hamstrings on the roller, or for a more intense roll cross one leg over the other with the roller under the lower hamstring.
- Using your arms as leverage, move your hips back and forth (similar movement to when you roll your calves) to move the roller along the entire hamstring.
- If doing one leg at a time, switch sides and repeat.
- IT Bands:
- Lying on one side, rest your hip on the roller. Using your arms to support you, bring the opposite leg into a position that helps support your body weight.
- Slowly move your body along the roller around where the seam on the outer side of your pants would be.
- If it’s especially tender, don’t roll directly on the IT Band and focus on rolling the outer edges of your quads and hamstrings by slightly tilting your body forwards/backwards on the roller.
- Switch and repeat on the other side.
- Glutes:
- The glutes are a big contributor to injuries in runners. Essentially using the same form as the IT Band, place one butt cheek on the roller and move it back and forth from the hip into the quad/hamstring region.
- Switch and repeat on other side.
Useful videos on technique can be found on YouTube for further guidance.


